What’s on this page?
- Creating a Community
- Updating a Community
- Using Community Properties
- Survey Logic and Conditional Display
- Email/SMS Invitations
- Quotas
- Data Analysis
- Managing Community Properties
Creating a Community
Start with an Excel File
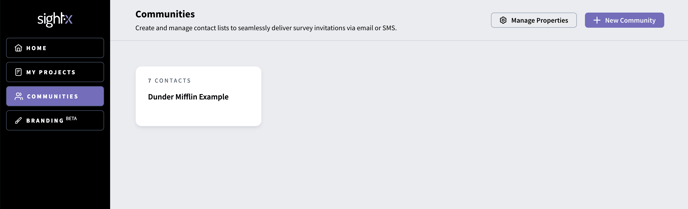
To create your first community, you’ll need an Excel file containing a list of your contacts, with one contact per row. The minimum required for each record is at least one contact information field - either email address or phone number. So if desired, you could simply upload a single-column list of just contact email addresses. However, you may find it beneficial to include additional properties because you can use these community properties to set survey logic and quotas, to customize your survey invitations, and to include in your analysis and research reports. For example — First name: If you include contact first names, you can customize your survey invitations to be addressed to your contact. I.e. “Hi Stanley, we’d love for you to take part in our survey…” ID: If you have any sort of internal ID for each of your contacts, you should include the ID in your community upload so that when you update your community in SightX, you can match records using that ID as a unique identifier for each contact. Age, Gender, State, etc: If you have profiling data on your contacts, you can include those profiles as community properties so that you can use them in survey logic, conditional display, quotas, and data analysis. This data can be uploaded as single-select categories or numeric data. An example community file is shown here:Upload the File to SightX
Navigate to the Communities section of the platform using the left side menu, then click “Create a community” to get started.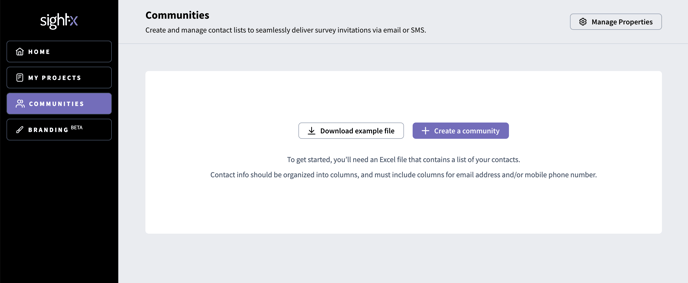
Updating a Community
Once your community has been created, you may want to add additional contacts, update contact properties with more recent information, or add new properties to the community. To do this, open your community and click “Update contacts”.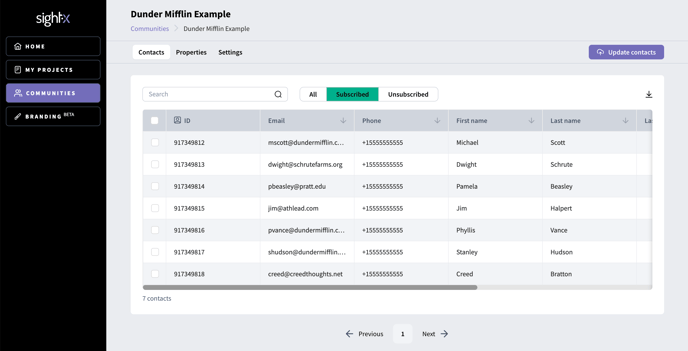
Using Community Properties
Community properties can be used throughout the platform to enhance your survey and data analysis. In the survey build: You can hide/show survey questions, pages, and answers based on community property values using survey logic and conditional display. When setting logic or conditional display, choose the “Community property” option in the dropdown, and then select a property.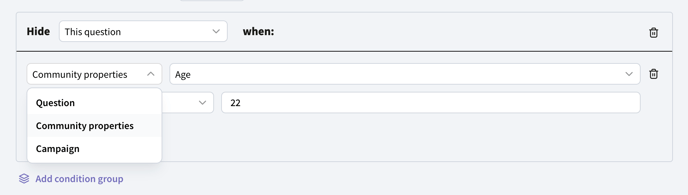
Managing Community Properties
You can manage your community properties as needed with the following features:Archive properties
You can archive properties that you’re not using anymore so that they don’t appear in the survey build or data analysis sections of new projects. This is recommended when you have old properties that you are no longer keeping updated for your contacts.Edit properties
You can edit property names, and also the labels for the values within the property. In addition, you can merge multiple property values into a single value. To manage properties, navigate to the communities dashboard in the left side menu, then click “Manage properties” in the upper right corner.