What’s on this page:
- Targeted Respondents Overview
- Accessing Respondent Profiles
- Define Your Respondent Profiles
- Using Panel Profiling Data
- Distributing Your Test
- Setting Quotas
- Estimate Qualifying Rate
- Estimate LOI
- Get Quote
- Launch
Targeted Respondents Overview
SightX enables you to access almost any group of people - technology early adopters, census balanced populations, parents of toddlers, etc - with just a few clicks, utilizing our integration and partnership with ResearchDesk (RepData’s online sampling platform). In SightX, you can target respondents based on specific demographic criteria - such as age, gender, location, or interests - allowing you to distribute your surveys to relevant audiences. It only takes a few seconds to define your target audience and distribute your SightX test to them - read on to learn how!Accessing Respondent Profiles
When you create a new project, you’ll be asked how you want to source respondents for your survey: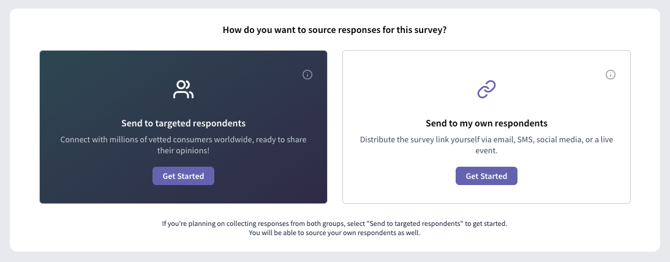

Define Your Respondent Profiles
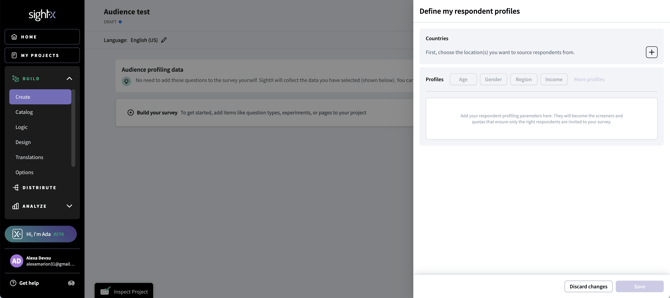
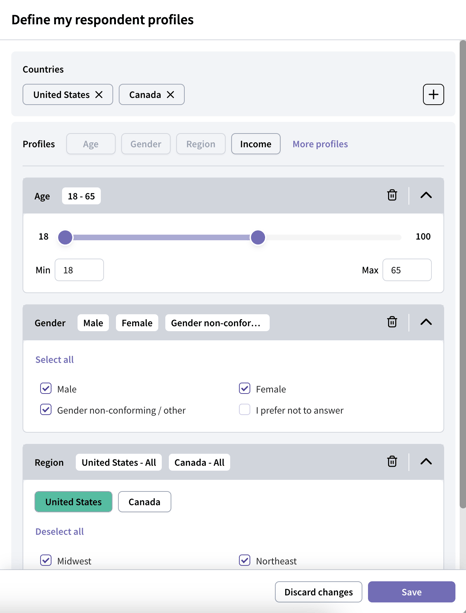
First, choose the countries you want to source respondents from. If you don’t see a country you’re looking for, contact your SightX rep about participant availability in that location.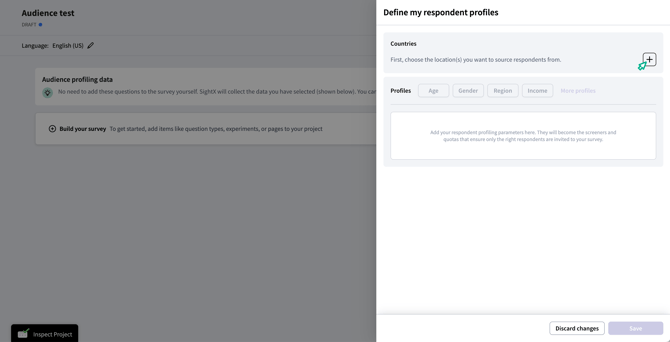
Using Panel Profiling Data
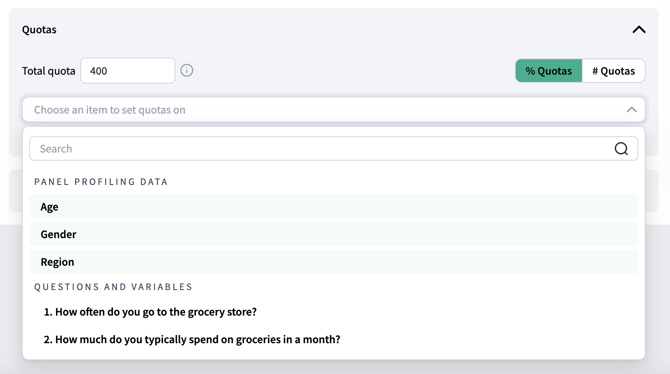
After you set up your respondent profiles, you’ll see that they are shown on the Create page at the beginning of the questionnaire. SightX collects this data from respondent panels and automatically screens out ineligible respondents, so you won’t need to add these as demographic questions or set disqualification logic for them in your survey. Other than not being shown to respondents in the survey, these profiling points act the same as regular survey questions - you can use them to set quotas, view and filter for them in the analysis, set conditional display logic on them, etc.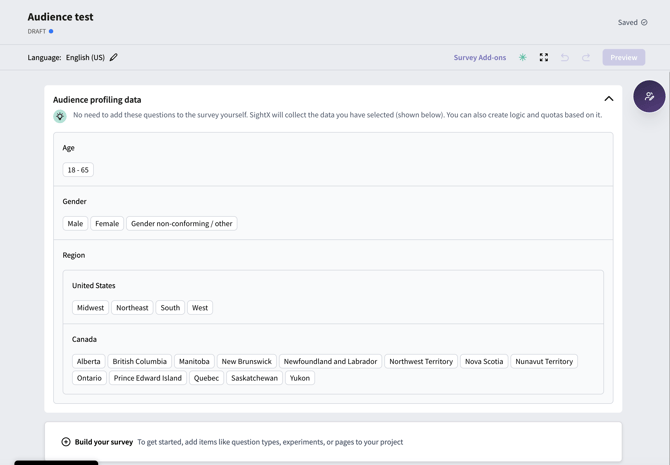
Distribute Your Test to Targeted Respondents
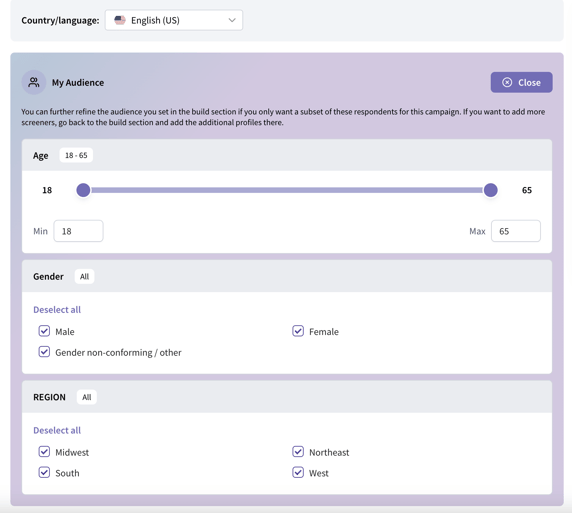
When you’re ready to begin collecting respondents, navigate to the Distribution section using the left side menu. If you’ve set up targeted respondent profiles, SightX will automatically create a targeted audience campaign for you when you land in the distribute section. First, choose the country and language combination that you want to launch first. You’ll create a separate campaign for each country you want to collect responses from.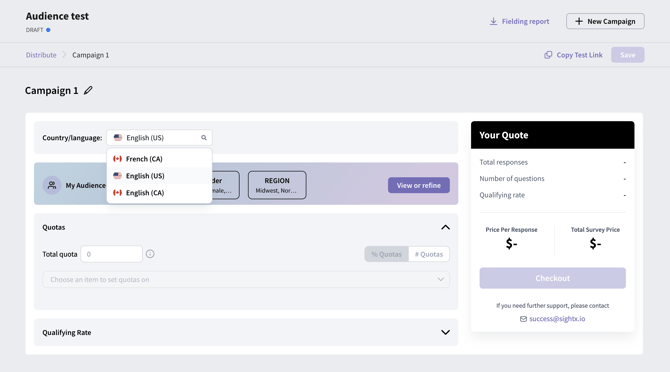
Setting Quotas
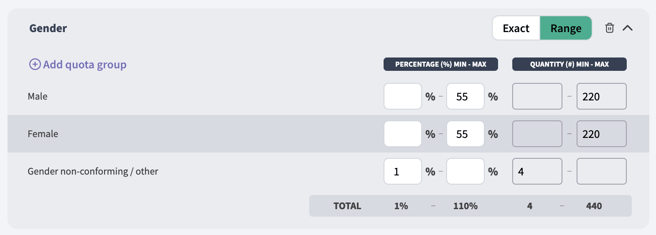
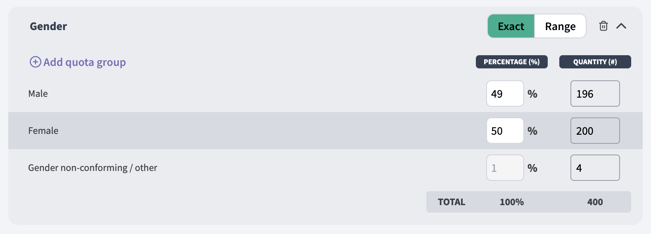
Next, set the total quota - the number of responses you want to collect for this campaign. Input the total amount, even if you plan on doing a soft launch for just a few respondents to start out. For help estimating the number of responses you need, see this article.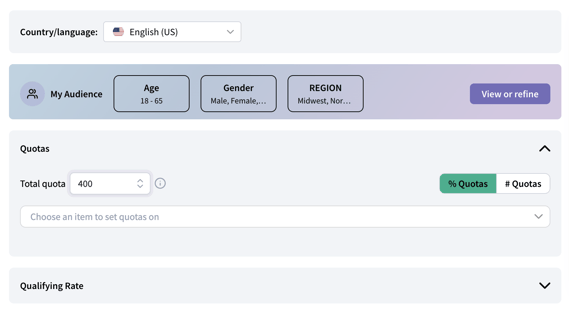
Estimate your Qualifying Rate
After you’ve defined your quotas, the next step is estimating your Qualifying Rate. The qualifying rate is the percentage of respondents who begin your survey, and qualify to continue in the survey based on your disqualification criteria in the logic section. The qualifying rate is important because it determines how many respondents out of the group you defined above will actually qualify to take your survey, and thus how many respondents will be needed to achieve the number of responses you want. A higher qualifying rate means that fewer respondents will need to attempt the survey, and thus the campaign will be less costly to complete.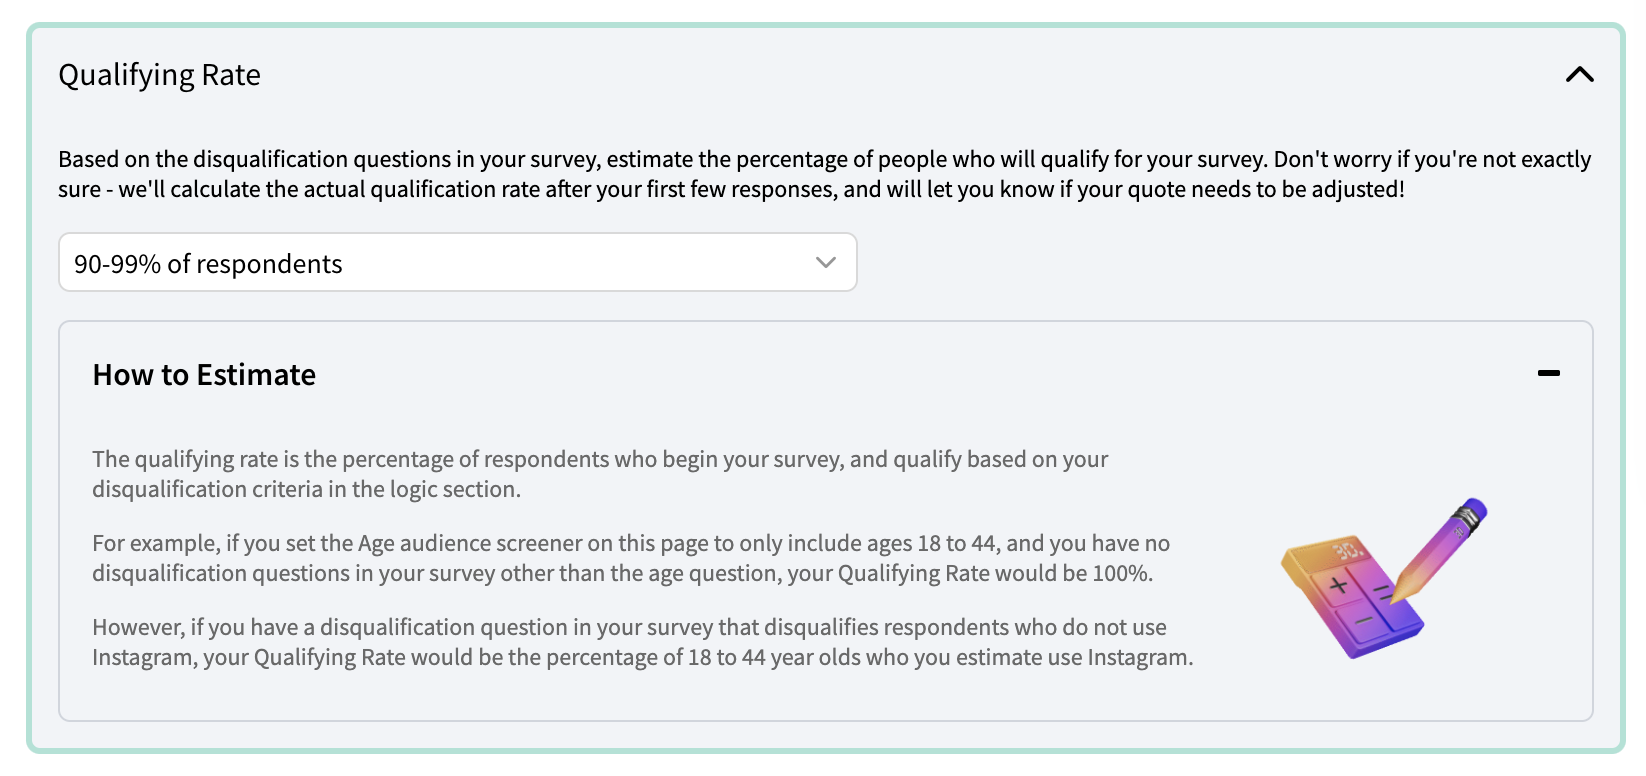
Estimate your LOI
The last step needed to price your campaign is to input your estimated LOI (length of interview). This is the amount of time you think it will take respondents on average to complete the survey. You should test the various paths in your survey to determine how long it will likely take respondents.Sample Quote
Once you’ve finished defining your audience and enter your estimated qualifying rate and LOI, your quote will appear for the cost of your campaign. If the price quoted is higher than your budget allows, consider expanding your profiles, removing quotas, or removing disqualification logic (to increase the qualifying rate). When you’re satisfied with your quote and audience setup, click the Checkout button to set up your launch configurations.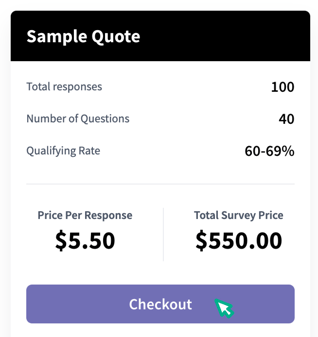
Campaign Launch
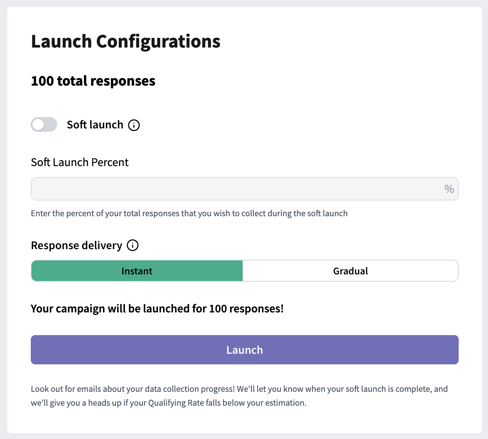
You can choose to soft-launch your survey, which allows you to launch for a smaller portion of your total responses to start, so that you can review the data and make sure you don’t want to make any survey edits before fielding the rest of your responses. You can also choose the pace of your response delivery. Instant delivery opens up the survey to the full number of respondents immediately, while gradual delivery opens responses gradually over the course of two days to slow the pace of respondent traffic.